
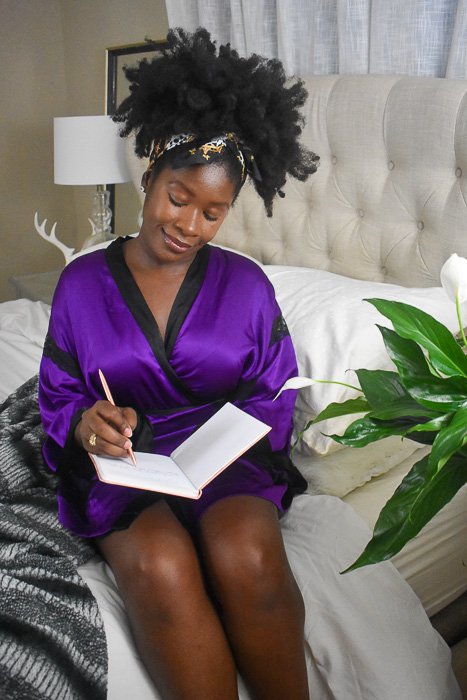
Nothing is normal right now, including the creative process for content creators. Many bloggers and influencers are struggling to maintain the same quality of photos while self-isolating/social distancing because they're used to working with photographers. My content creation routine hasn't changed much, though. Roughly 98 percent of the photos you see on the blog and my social channels are taken by me, including photos with me in them--even for paid brand campaigns. I've worked with the amazing Pharris Photography team and Fotos by Whit before (she took the pic above) and friends and family members help me out when I really need another eye. But for the most part, self-photography is my bag and I'm snapping away both behind and in front of the camera.
Today's post is a self-photography guide to getting a variety of quality shots for your blog and social media accounts. I've included helpful tips, the tools I love, and several examples of photos I've taken utilizing these practices. Because you probably want proof that I know what I'm talking about right? The tips in this post are specifically for self-photography and assume that you've got some of the the basics like lenses, lighting, and composition down.
from a mindfulness campaign with NatureMade Vitamins
What is Self Photography?
Self-photography is simply taking photos of yourself, by yourself. Selfies qualify as self-photography but we're going to elevate your game beyond the basic selfie today, k? OG Dash of Jazz readers would know that I started out only taking photos of food and that those photos were not all that. I felt my way along, learning from webinars and Instagram until I got comfortable and fairly decent behind the lens. Then I realized that photos with me in them performed quite well with y'all and that I had even more to share than my really delicious recipes. 🙂 Around that time, I was preparing to move into my own house so I had to figure out how to take photos of myself, often in action. Now that everyone is up to speed, let's start with my tips for taking photos without assistance.

from a healthy snack campaign with Windstone Farms
Self-Photography Tips
- Be open to learning. Self-photography is certainly not as quick of a process as working with a photographer but there is so much flexibility in it because there are no schedules to coordinate. If you're just starting out as a content creator, you might not have the funds to hire a professional every time and getting a firm grasp on self-photography will pay dividends as you find your voice and grow your brand.
- A shutter-release remote and tripod will be your BFFs in this self-photography game. But if you don't have access to those, make use of the self-timer feature on your phone or camera. I've linked several of my favorite tools below and they're all pretty inexpensive.
- If you're taking photos with your smartphone camera, set it to airplane mode when you'll be shooting. Because nothing throws off the groove like an unscheduled call.
- Taking pictures of yourself is a whole new level of awkward. To shake that off (because it will reflect in the photos), here are a few things that work for me:
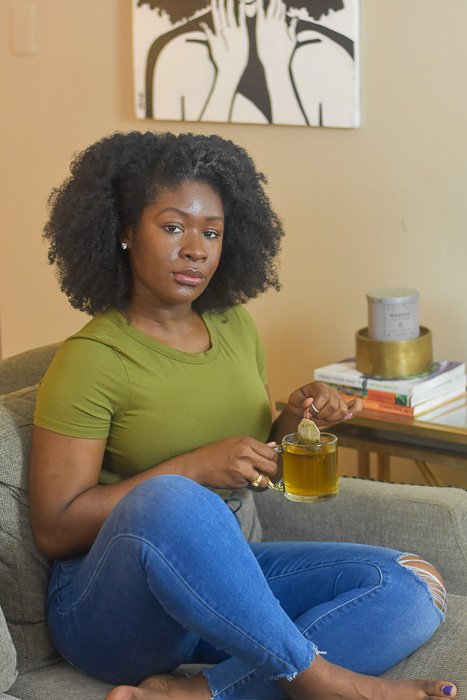
- Use props (like a coffee mug, wine glass, magazine, laptop, etc.) to help you feel comfortable.
- Practice your poses before you start.
- Turn on some music!
from a hydration campaign with Primo Water
- Frame the photo before you put yourself in it. Using the front-facing camera on your phone or mirroring the viewfinder on your camera somehow will make this much easier but it's not necessary. Set up your camera aimed at where you will be and take notice of what is and isn't in the shot. Take test shots to find the right angle, distance etc. Then snap away.
- Commit to test shots. When you don't have an actual eye behind the lens, it will take some adjustments to get to the shots you have in mind. Be patient and know that it will take less time as you learn.
- Play with angles. Photographers already know to do this when shooting you and you probably know to do this when you're taking a picture of a flat lay or plate of food. It bears repeating when it comes to self-photography because our first instinct is to set the camera and tripod up directly in front of ourselves and start snapping. To make the photos more interesting and tell a better story, raise the camera above, set it below, shoot from the side, etc. until you get the good shots.
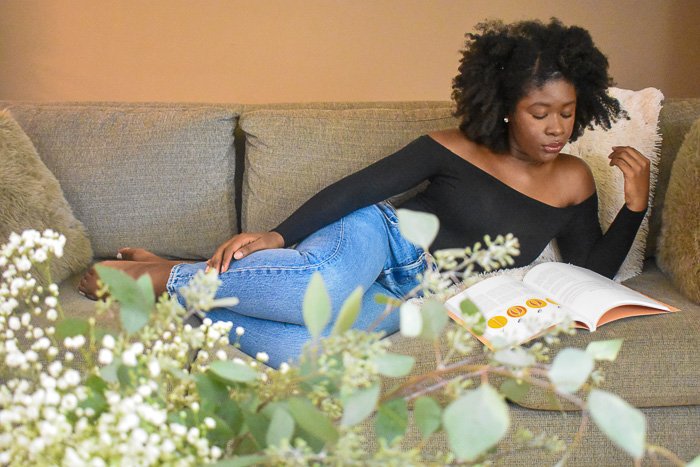
- Play with perspective. Below are two photos from the same shoot around my house. To get the first photo, I positioned a vase of eucalyptus and baby's breath on a table between myself and the camera so that some of the spray is visible in the shot. To get the second photo, I set my tripod up very tall upon the table on which I was working (aka pouring wine) and aimed the camera down at my hands.

Now that we've covered my self-photography tips, let's get into the tools that help me make it look easy. I've included self-photography tools for both DSLR and smartphone cameras.
Self-Photography Tools I Use
- Tripods. I use this tripod for my DSLR (it also has an overhead arm for use with smartphones). And I use this lightweight tripod with my smartphone. It comes with a bluetooth remote and is SO handy for solo travel!
- Shutter-release remote. I use this remote for my Nikon D3400 DSLR camera and this one to take photos on my iPhone. They both connect through bluetooth and make action shots possible. The trickiest part is hiding the remote in photos. Now, I typically edit it out but wasn't always so good at doing this (and sometimes didn't even remember to!) which led to some of my friends starting up a "spot the remote" game on my Instagram feed. If I can't confidently hide the remote in my hand for a shot, I'll set it down against a plain background (like the floor or in my lap) and edit it out later.
from my trip to Tulum
- Overhead devices help me get video and photos while I'm in the process of making food and DIY projects. If you have a tripod already, check out this overhead attachment. And I love this overhead arm for filming recipe videos and such. It mounts to whatever surface you're working on and comes with a remote, as well. Amazon stock is touch and go right now so here's another option, just in case.
- Artificial lights get an honorary mention because my house is very old and quite dark in most rooms, so I use them almost anytime I shoot at home. If you're suddenly shooting from home and need to boost the light in your photos, I highly recommend them. I tend to use this set for food photos, and these lights for lifestyle shoots.

from my Cocoa Gingerbread Cookies recipe

from an Instagram campaign with Tampax
I hope these self-photography tips help you. If there's something you're curious about that I didn't touch on, let me know in the comments below. And sharing is caring, so be sure to pin this guide to Pinterest. 🙂 Thanks for reading!


Charlie Jon says
We all got seperated from everyone in the pendamic and it was the internet which saved us. Photos played a major role which showed what we were doing in our houses to others. This blog just made people somewhat expert on how they can make their photos more amzing looking. Thank you.
Zubida says
Sounds good. I think when shooting self-portrait we need to avoid some basic mistakes that are poor lighting lens distortion and a poorly framed shot. However, self-portrait depends on the individual artistic view but some technical aspects should not be overlooked.
Breonna Queen says
Great blog post! I swear by a remote when taking photos of yourself too! It makes life so much easier!
Jazz says
Thanks, Breonna! The remote is a game changer.