
As I've gotten a better feel for the space in my home and stepped my entertaining game up, I've found that my bar cart doesn't quite cut it size-wise. I still love it and use it in many ways while hosting, but it isn't large enough to hold all of my bottles, glasses, and related odds and ends. Today's post chronicles my process of sourcing and making a home bar cabinet using products mostly from IKEA and Amazon. If you're looking to make an IKEA Kallax bar cart or cabinet, keep scrolling, sis.
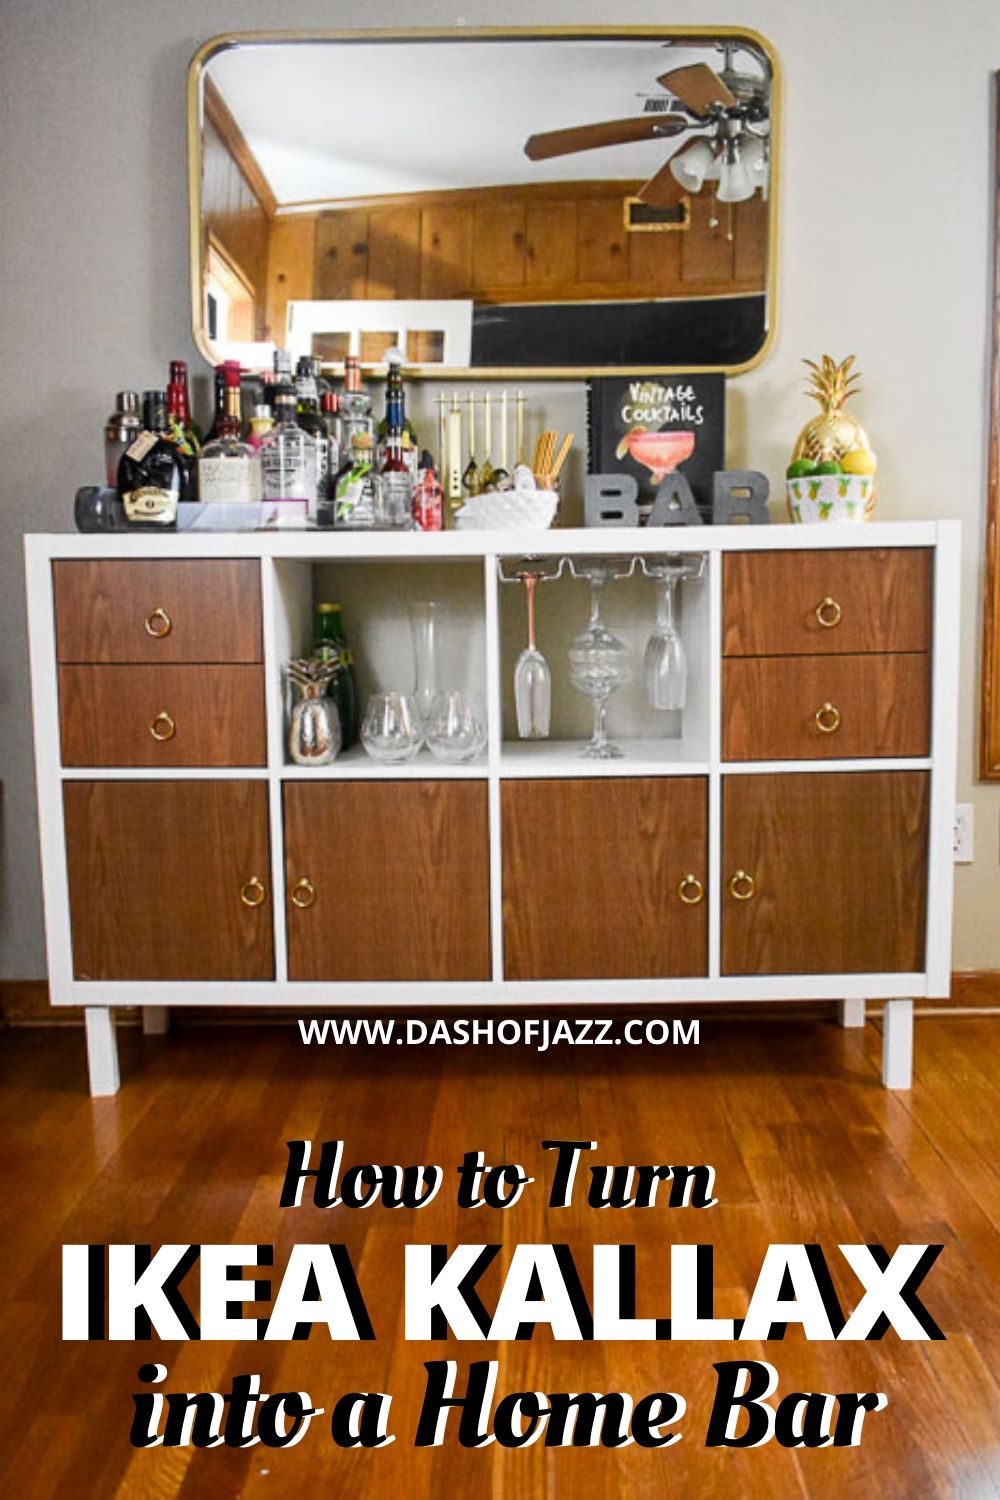
Not too long after moving into this house, I started hunting for a bar cabinet to fit my needs. The hunt was frustrating because the perfect piece did not seem to exist--at least, not in my price range. A Pinterest search revealed a number of IKEA DIY options that caught my eye and I decided to go a similar route to create the home bar cabinet I wanted at a price I could afford. Here is how to turn IKEA Kallax into a home bar.
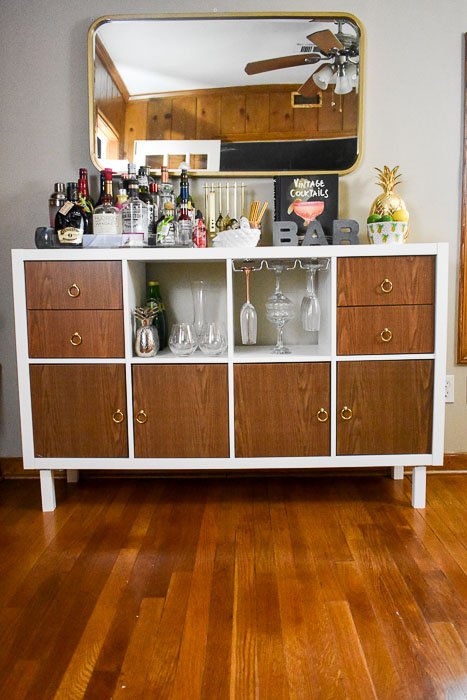
Now, I wouldn't describe this as a cheap project but it certainly came in way under the cost of any comparable bar cabinet/side board I had priced in my search--especially to be customized for this room and my taste. The total for materials was about $200 and similarly sized and appointed units I found were over $400. This DIY home bar project can easily be completed in an afternoon--especially if two people work together. I employed a number of hacks using auxillary products from Amazon and my local home improvement store to go from the basic IKEA Kallax shelf to this customized IKEA Kallax home bar cabinet. Here's the breakdown of the IKEA Kallax home bar hacks that made up this project:
Materials
- Kallax 8-shelf Unit - $65
- 4 Kallax Door Inserts - $15 each
- 2 Kallax Drawer Inserts - $20 each
- Wood Grain Contact Paper - $11
- 4 Legs, painted white - $4 each
- Ring Pulls - $11
- Stemware Rack - $12
Tools
- Phillips Head Screwdriver
- Flat Head Screwdriver
- Scissors or Box Cutter
- Drill
- 3/32" Drill Bit
Instructions
I first assembled the Kallax unit and drawer attachments per the included IKEA instruction booklet. One of my girlfriends helped me with the unit, which made it pretty quick and easy to do (about 30 minutes). From there, I attached legs I'd purchased from a home improvement store, using instructions included with them (20 minutes), installed the wine glass rack (10 minutes), and moved the unit into place in my "cocktail room".

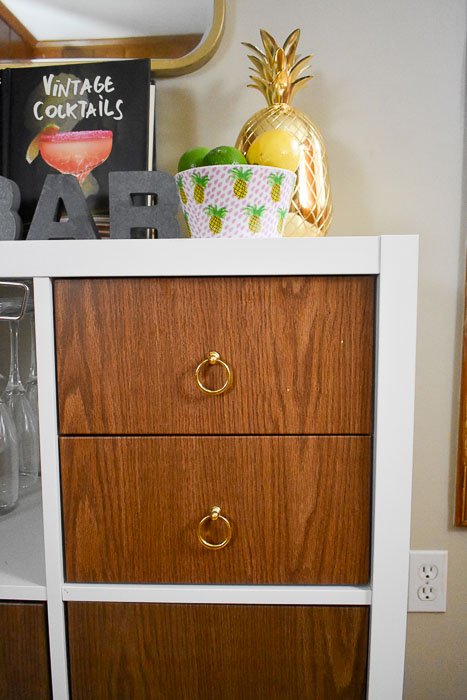
Next, I measured the doors of the cabinet and drawer inserts in order to cut pieces of contact paper to size for covering. Be sure to measure out enough paper to cover not just the faces of the doors but the edges too as these will be exposed when opening and closing the doors and drawers. Once covered, install the doors per the IKEA instruction booklet. The final touch was to replace the included knobs with these ring pulls I found on Amazon (2 minutes). The included knobs are silver, perfectly fine to use and can be spray painted any color you like but I preferred the look of the rings.
Accessories
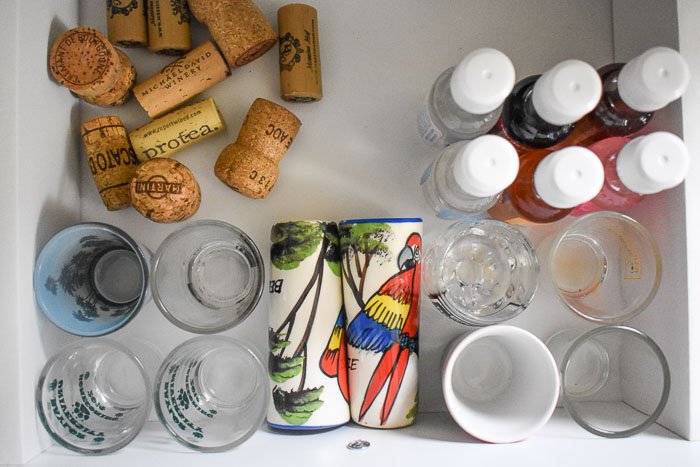
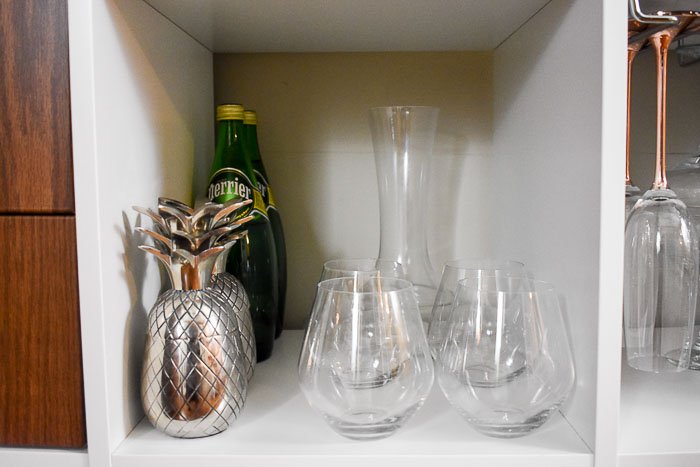
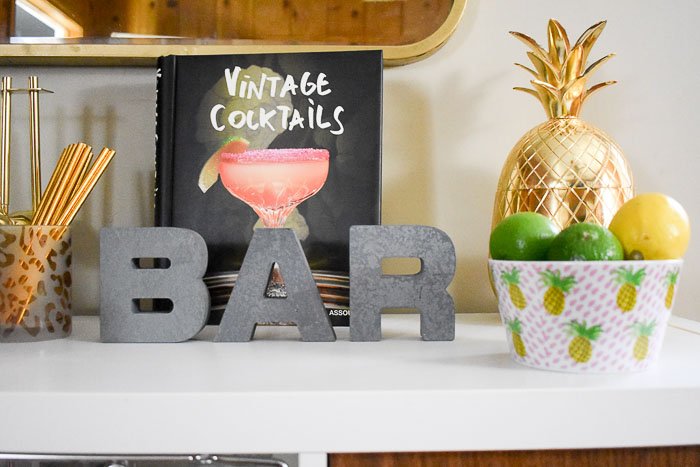
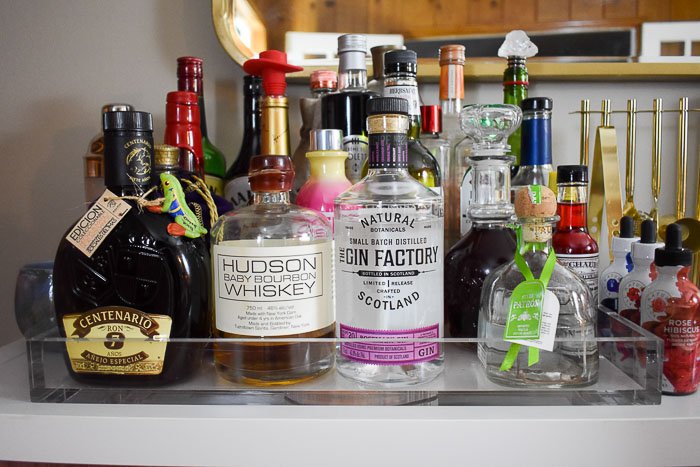
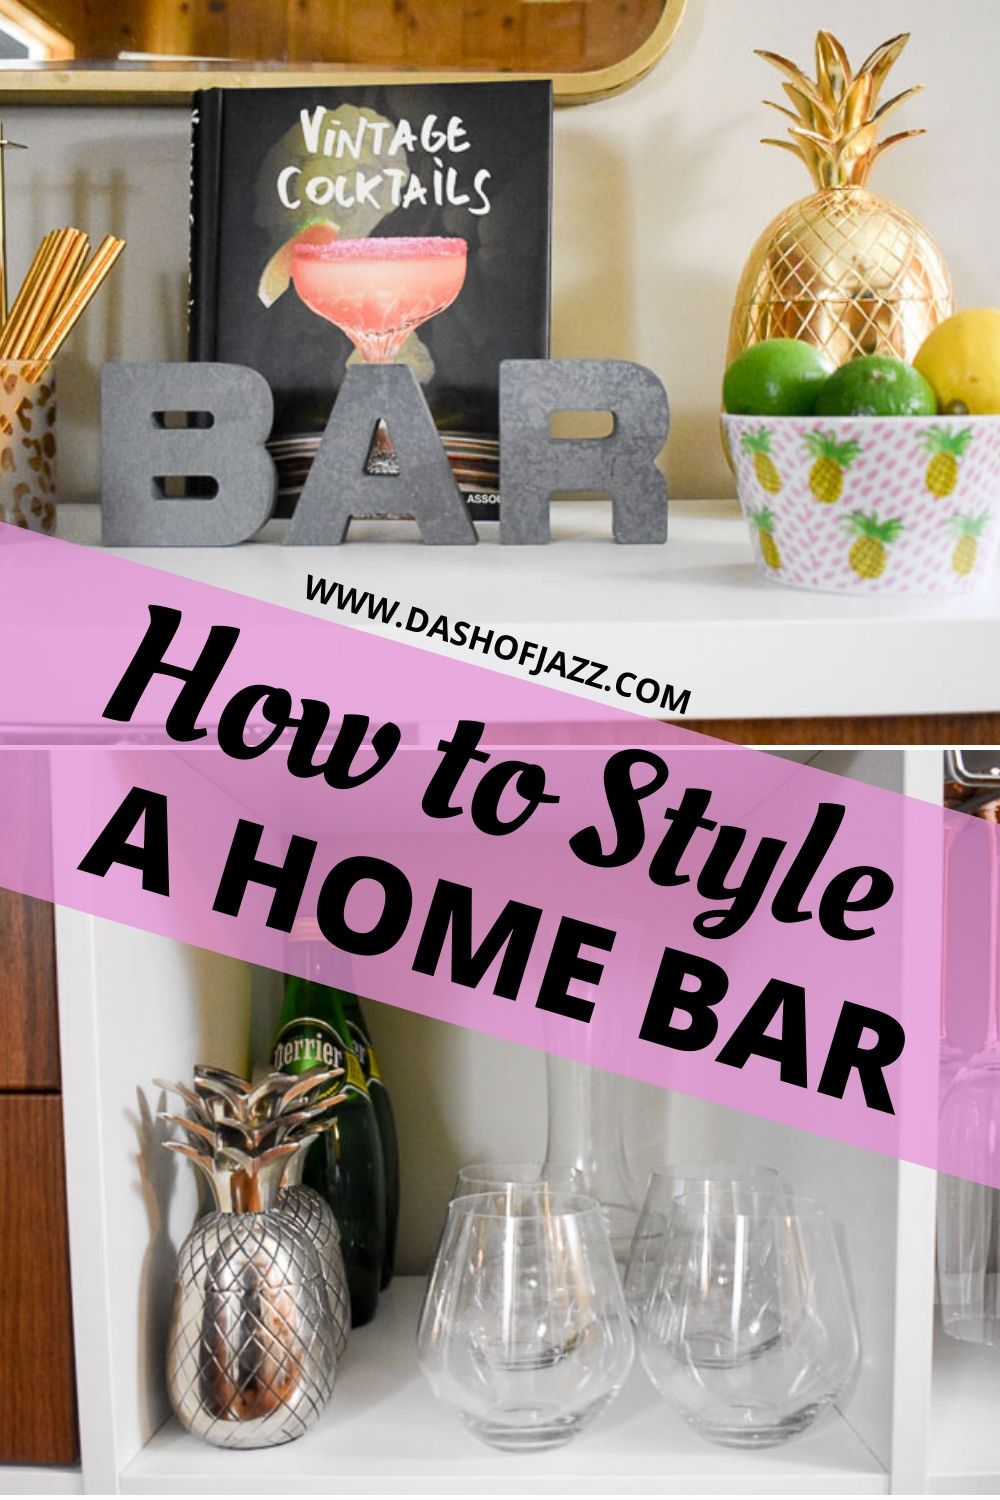
Once in place, I filled the bar cabinet with all of the essentials (wine bottles fit perfectly on their sides in the cabinets) and styled it with decorative touches like a gold pineapple ice bucket, an acrylic tray, and this Vintage Cocktails book. You can shop my favorite home bar items below. What are your thoughts on this project? Thanks for reading!

Shop the Post
P.S. You should also check out:
- 20 Budget-Friendly Wines + Essential Tools
- 6 Easy Bottle Gift Upgrades
- Dining Room Reveal
- How to Make a Wine Cork Garland


David says
Following up on the comment about the glassware racks. I just bought two of the racks for my own Kallax, they fit perfect. Did you use just the screws, or the screws with the wall inserts provided?
Jazz says
Hi, David! I just used the screws.
Chris O says
Hi. This looks great! Love it. Amazing job building and styling. I’m wondering if you had any issues with securing the wine glass holder into the hollow Kayla’s top panel? Did you use special screws? Also, how are the glass holders and legs holding up? I put legs on a larger Kayla’s and I am a little worried some of the screws didn’t really tighten because the base is hollow.
Jazz says
Hi, Chris! I used the screws that came in with the haven't had any issues with the glass holders and legs holding up after about 4.5 years. However, I haven't moved it more than once during this time. Hope this is helpful.
Alex says
This is amazing! Think I might do it in black brown with wood grain doors and brass legs if I can find all the right materials!
Jazz says
Sounds like it will be lovely, Alex. Hope it turns out well for you!
suresh lukhi says
hey dear,
Great information,i really like your post and so useful for me.keep up and thanks to writer for awesome sharing.. 🙂 🙂
https://www.lukhidiamond.com/LOOSE-DIAMONDS
KD Harris says
Love this DIY! I mean...if this was sold in stores I would def purchase it. Great job!
Leigh Suznovich says
Oh wow this is awesome!! It doesn't seem too complicated to pull off either. I really want this in our house.
Jazz says
If I could do it, you definitely can. Thanks for reading!
Annette Dattilo says
You did such a great job. I love your cabinet. I'm sure stocking the cart is not cheap either. 🙂
Jazz says
Thank you! Stocking the cart is definitely more expensive than the DIY lol.
Taylor Nappi says
This is so adorable! My boyfriend really wants something like this for his new townhome so I'll have to tell him about it! Thanks for sharing.
Michelle says
This came out so well! I'm definitely about to hit up ikea and take on this sort of project. I think the contact paper gives it a cool vintage vibe.
Jazz says
Thanks, Michelle! That's what I was going for with the contact paper and ring pulls--especially because the walls in this room have wood paneling.
Leah says
I loooove ikea hacks so much! This looks awesome!