
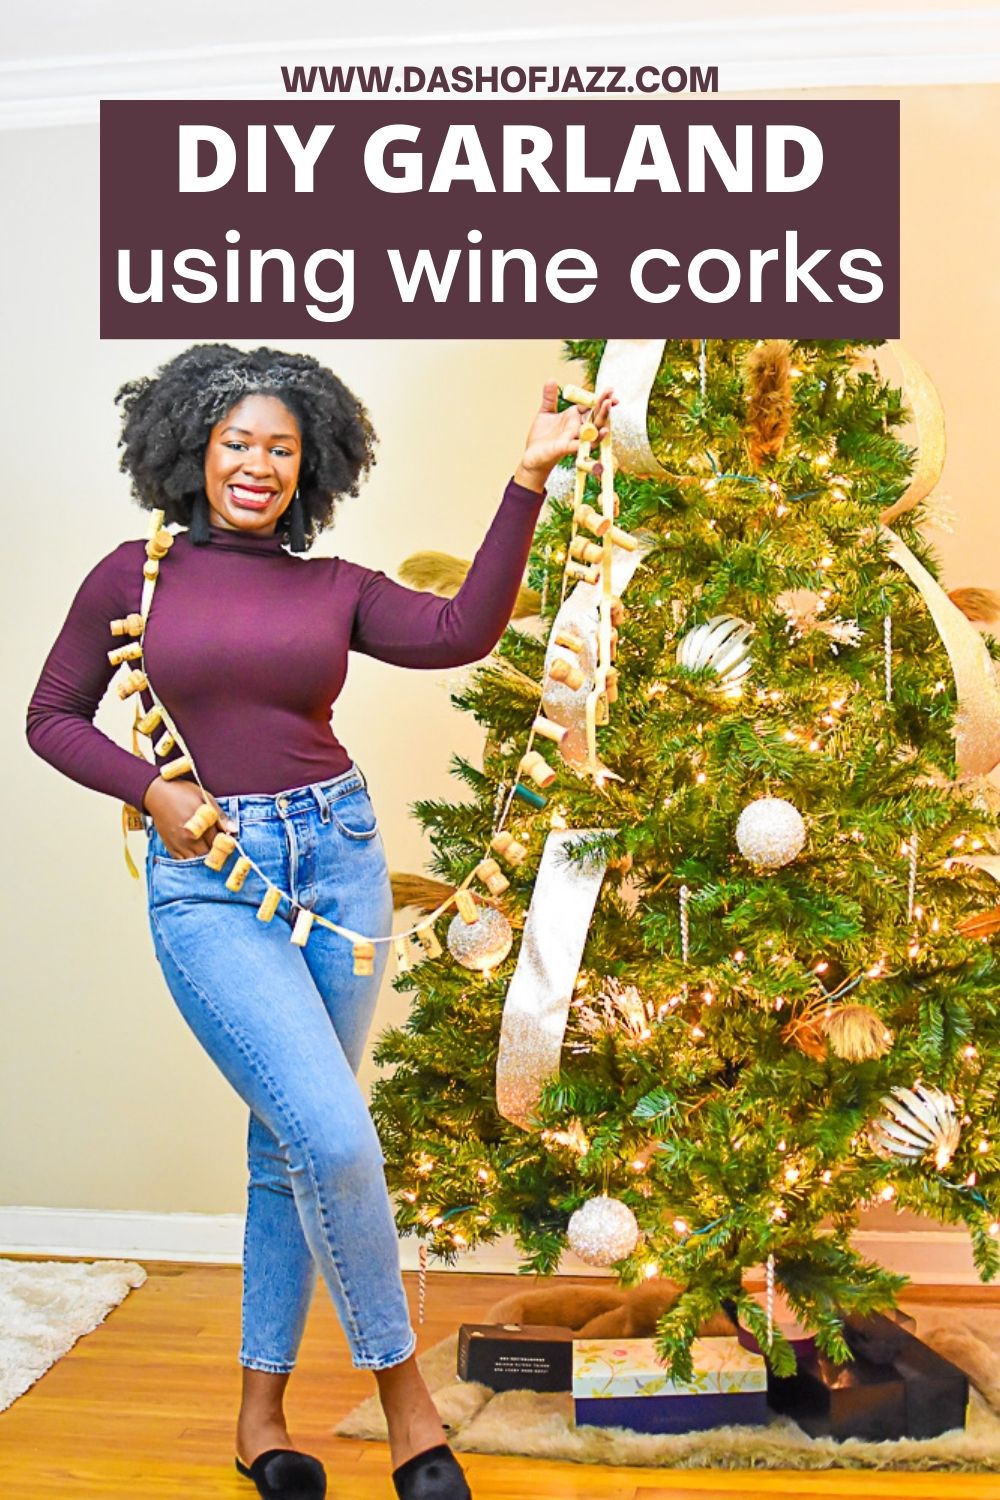
This year, I decorated my house for Christmas as soon as Thanksgiving leftovers were packed up and, of course, had to incorporate a DIY holiday decor project, which is probably what you're here for today: a Christmas garland with wine corks! Since moving into my home this January, I've saved up the wine corks from every bottle popped and needed something to do with them. Not saying I'm a wino but, between at-home brunches and after-work wine downs, they were starting to pile up. And while there's no shortage of wine cork craft ideas out there on the internets, most of them seem to call for tools and I'm all about ease. Here's how to make a wine cork garland without a drill or even so much a screwdriver. Let's get into it!
If you save all your wine corks, too, this DIY wine cork garland is the easy holiday decor project for you. It's so simple to create and a great way to make use of sentimental corks from things like anniversaries, housewarming parties, and business launches. Wondering how do you make a wine cork garland? Here's are the materials you'll need.
Festive Wine Cork Garland Tutorial
What You'll Need
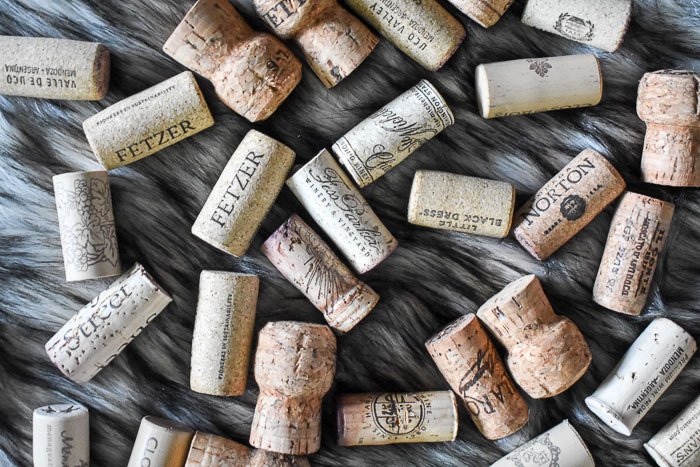
- About 30 wine and/or champagne corks
- About 30 stick pins (I used these pearl ones by Dritz)
- 9 feet of ribbon or twine of your choice
- Fabric-safe marker
- Superglue (optional)
Did I mention how budget-friendly this project is? All the materials come in under $10, assuming you use wine corks you already have. But even if you purchase wine corks to complete this project, it won't break the bank. Not bad for a custom decor piece. Follow the step-by-step instructions below to create your wine cork garland.


Instructions
- If needed, sterilize corks by placing them in a pot of boiling water for about 10 minutes. Pat dry and allow to cool.
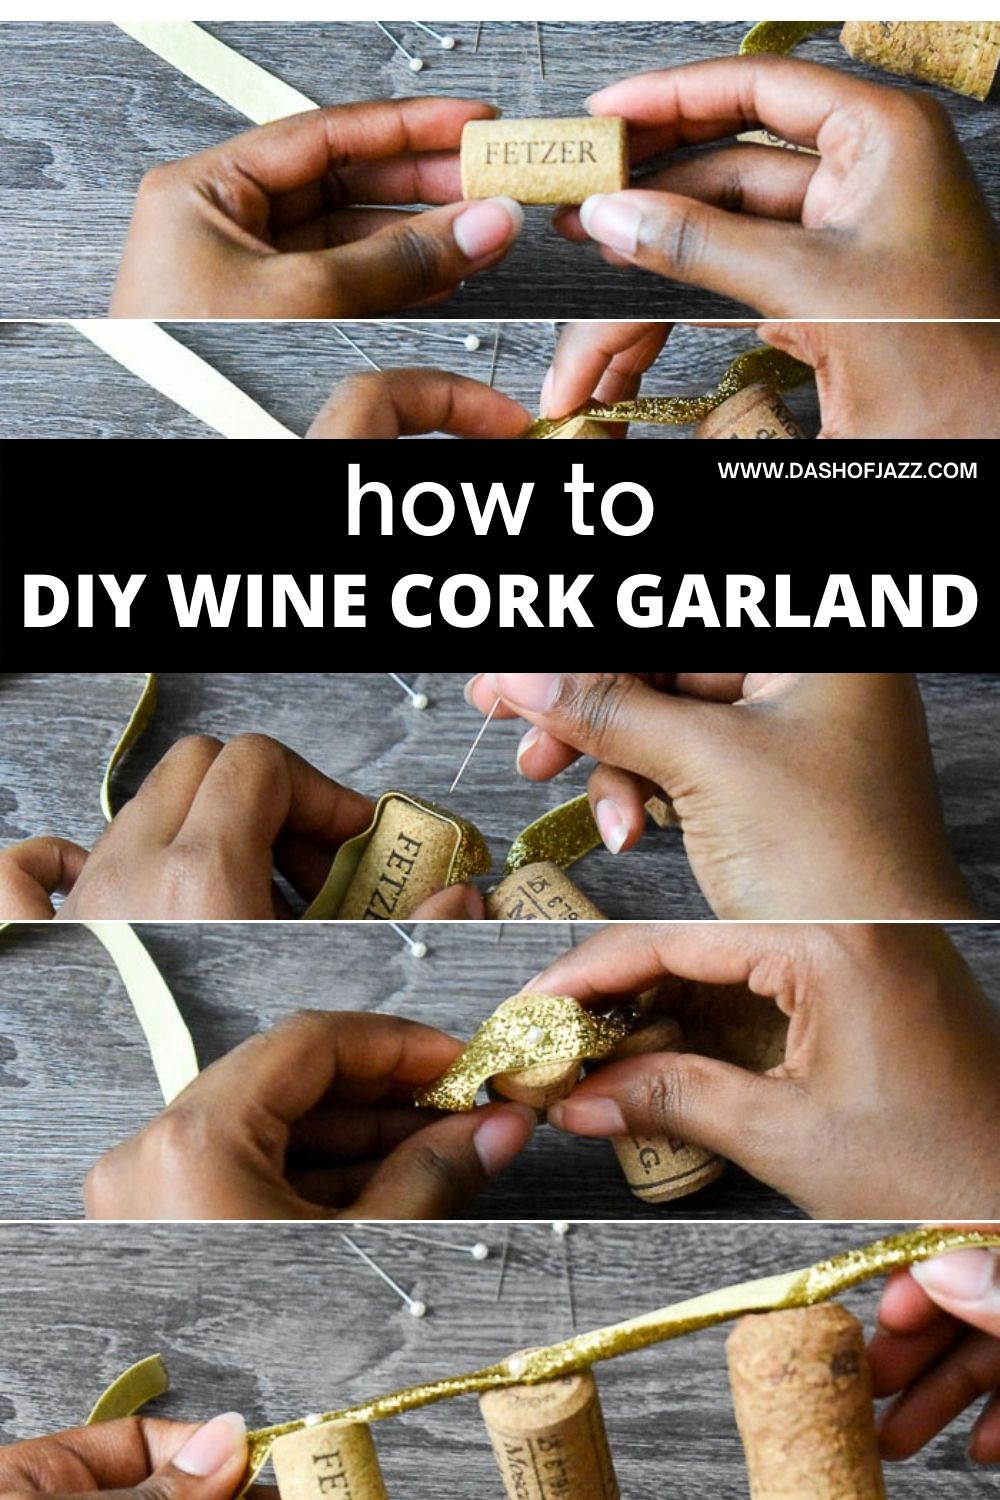
- Using a marker, measure and mark one foot from each end of the ribbon so that you have some length to use for hanging.
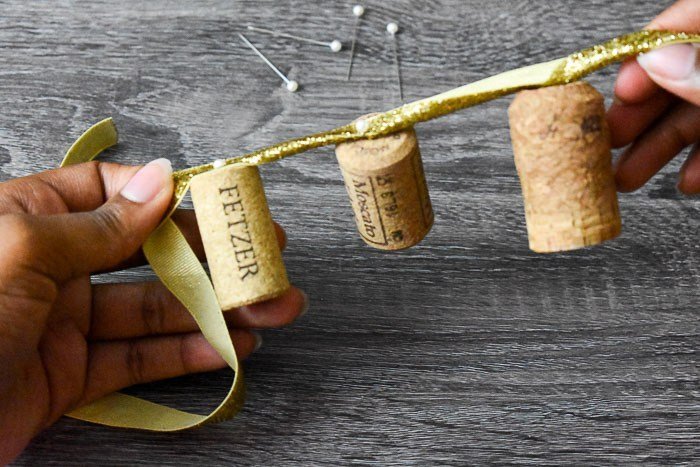
- Determine spacing for corks. With the materials in this tutorial, 2.5 to 3 inches between each cork provides an equally spaced garland. You can also play with the spacing and grouping of the corks like I did with mine.
- To secure a cork to the ribbon, place ribbon flat over top of the cork. Push a stick pin through the other side of the ribbon and into the cork until the head of the pin meets the ribbon. For extra security, you can dip the pointy end of the pin into a bit of superglue before inserting into the ribbon and cork.
- Repeat step four until all corks and stick pins are used.
Wine Cork Garland How-to Video
As promised, there are no tools needed for this little project. Technically, you can screw into wine cork but why even bother when this easy DIY cork garland is so easy? Now, let's talk about how to put this wine cork garland to use.
How to Style a Bar Cart for Outdoors
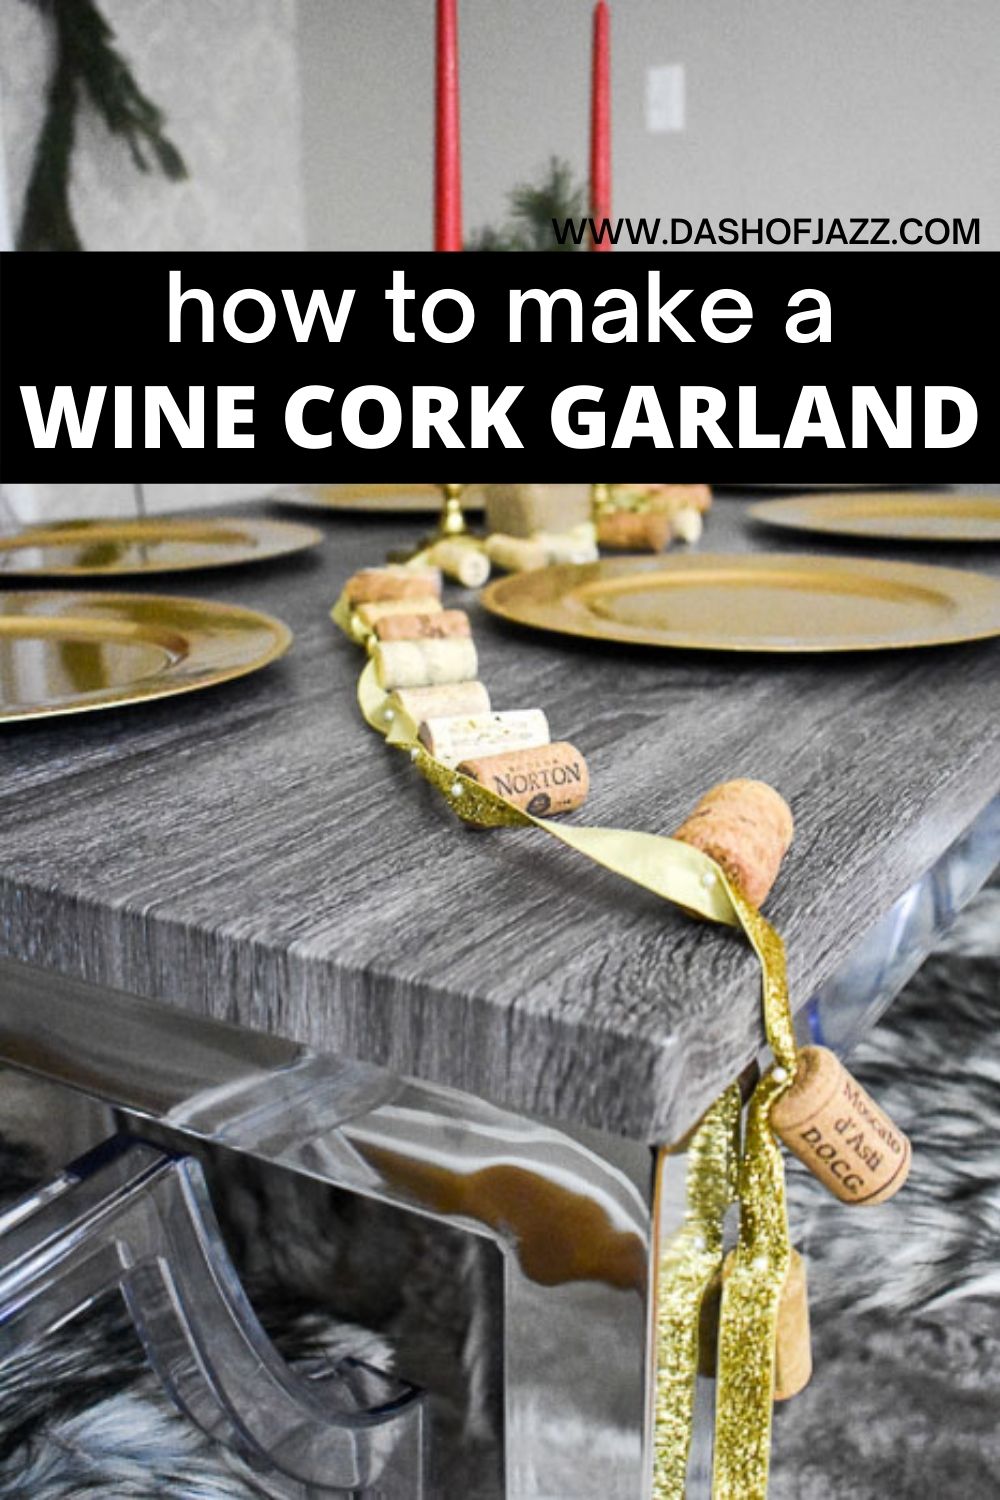
How to Decorate with a Wine Cork Garland
I originally made this DIY cork craft for a Christmas tree. Truthfully, you can use it in many more ways. Here are a few ideas for decorating during and beyond the holiday season.
- String it over a bar cart or home bar setup.
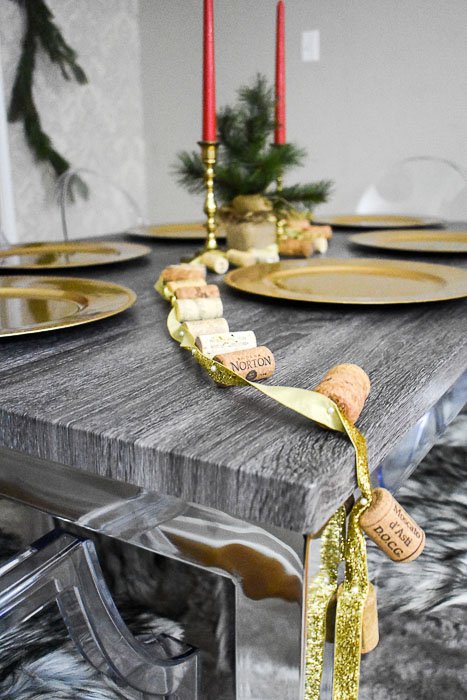
- Arrange it on a dining room or coffee table.
- Intertwine with a traditional green garland over doorways or anywhere else you might use one.
I hope this tutorial answers any questions you had about making a wine cork garland. Sharing is caring so be sure to pin this on Pinterest. Thanks for reading!

P.S. more fun Christmas ideas to try:
How to Make a Wine Cork Garland

Wine Cork Garland (No Tools Required!)
Ingredients
- 30 wine and/or champagne corks
- 1 fabric-safe marker
- 9 feet ribbon or twine
- 30 stick pins
- 1 tube superglue optional
Instructions
- If needed, sterilize corks by placing them in a pot of boiling water for about 10 minutes. Pat dry and allow to cool.
- Using a marker, measure and mark one foot from each end of the ribbon you're working with in order to ensure you have enough room for hanging.
- Determine your desired spacing for the corks. With the materials in this tutorial, 2.5-3 inches between each cork provides an equally spaced garland. You can also play with the spacing and grouping of the corks to your preference.
- To secure a cork to the ribbon, place ribbon flat over top of the cork. Push a stick pin through the other side of the ribbon and into the cork until the head of the pin meets the ribbon. For extra security, you can dip the pointy end of the pin into a bit of superglue before inserting into the ribbon and cork.
- Repeat this process until all corks and pins are used.


Ann Edwards says
So much easier than the other posts I've seen! Not sure how to tweak it for my current purposes, but I really appreciate the inspiration!
Jazz says
I hope you're able to make use of it!
Rebecca says
Great idea but I'm having so much trouble putting the kids in without them bending.
Jazzmine Woodard says
Hi Rebecca! I'm sorry you're having this issue. Sometimes, it helps to spray the corks with water or even soak them for about 10 minutes if they are very difficult to work with. Alternatively, you can use thicker stick pins. Hope this is helpful!
justine @ sunnyinjune.com says
can i just say how fab you are!?!?
this wine cork garland is such a cute idea for decoration! eeek! but then people could actually see how much wine I could polish off! hah! JK! 😉
Ann says
Hobby stores and even Target sell wine corks for decor. Just blame it on them. 😉
Joyce says
So glad to find a garland to make for my tree that doesn't include power tools. This is a great idea and I plan on using. I have a big bag of corks I've saved over the years to make trees with but still have this big bag left. Thanks so much for the inspiration!
Jazz says
You’re so welcome, Joyce! Glad you found inspiration here.
Jessica says
I totally love this idea! It looks super cute on your bar cart!
KiarnaJayne says
wow, how simple and easy is that to make?! and it looks really effective, love it!
Josie says
This is genius! And soo cute!!!
Leslie says
I love this idea!!! So pretty!