
Edible Arrangements has nothing on this girl here, y'all. I have been making and gifting fruit bouquets and centerpieces for a few years now and it is such a special way to dress up an event or make someone feel appreciated. People always love them! I thought this would be a great time to share a simple tutorial on how to make one for your Christmas get-together. There are so many options to choose from as far as shape, size, and the type of fruit to use. I created a massive Christmas tree shaped one for a Ring Dunk (Aggie tradition) a couple of years back and we almost didn't want to eat it, it was so pretty! Here's a picture of it. Just please don't judge me on the photo quality!

With one of these, you will have a [temporary] décor piece and appetizer in one. It's a fun way to add a healthy eating option to the mix at your own party or a potluck. I toted the one you'll see me make below to a gathering a couple of weeks ago and it was a big hit. I also took cookies and gingerbread along with it because I didn't want to be "that girl who just brought fruit". 🙂 The components to create a fruit centerpiece are simpler than you might think and if you catch a sale and/or use a coupon (like I always do), cheaper than you might think as well! Last but not least, these make great host or holiday gifts.
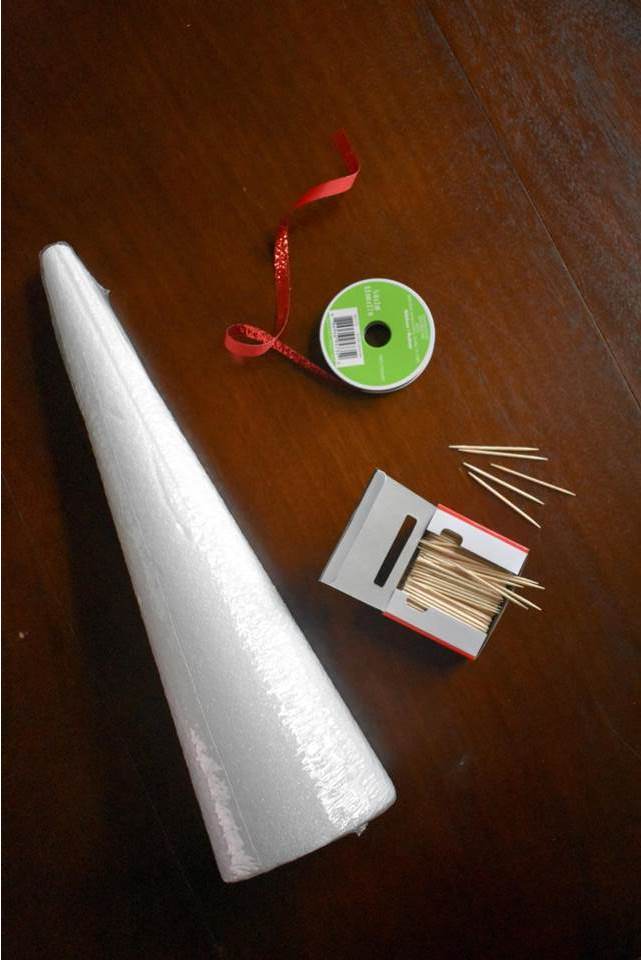
Festive Fruit Centerpiece Supplies:
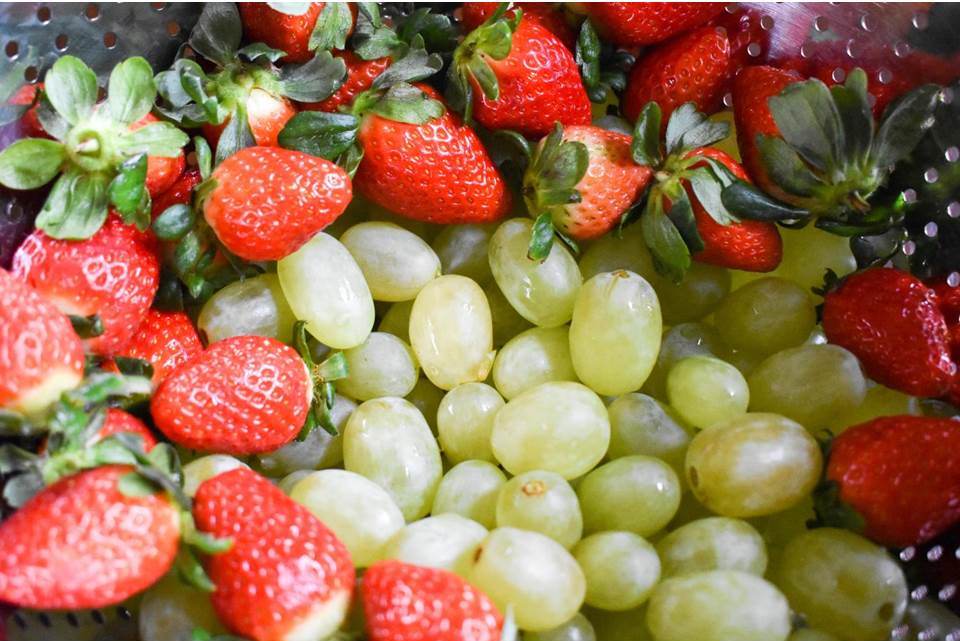
- Fresh Fruit: Berries, grapes, pineapple, and melon work really well for this project. I've also used chocolate-covered fruit before and the result is so mouthwatering. It took about 4 pounds of fruit to cover the piece I made here, which is about two feet tall.
- Foam Base: I usually purchase these at Michael's or Hobby Lobby for 50-70% off depending on the active sale or coupons.
- Toothpicks
- Head of lettuce (optional): I sometimes cover the base in lettuce leaves to help the piece look more full. It's completely aesthetic and a bit wasteful, so I prefer to fill up the piece with fruit that will get eaten instead! You can see some lettuce peeking out near the base of the centerpiece above.
- Decorative Ribbon (optional)
How to Make a Festive Fruit Centerpiece
Step One: Gather your components. Be sure to work on a large flat surface.
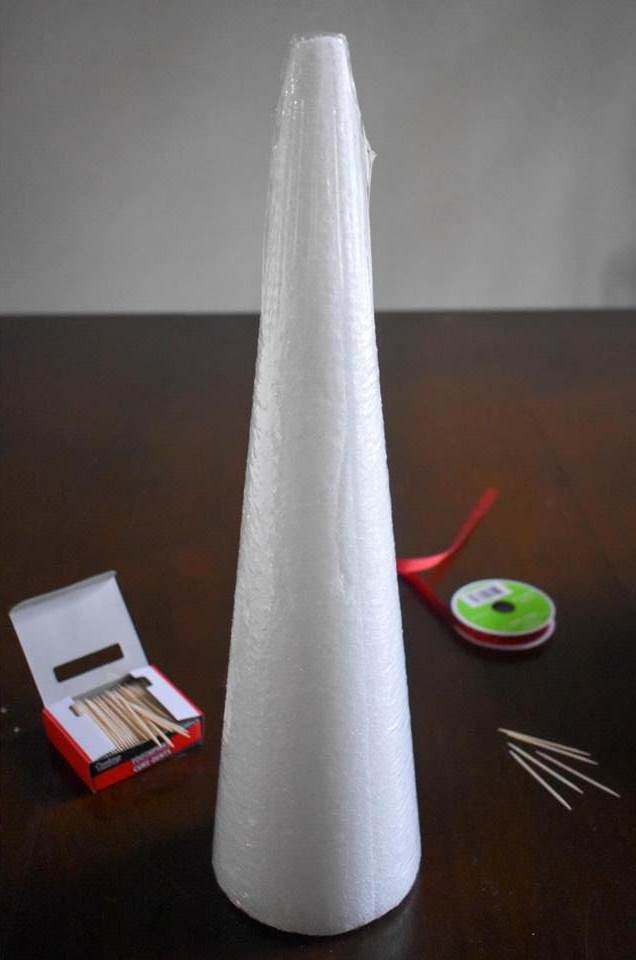
Step Two: Clean the base. I leave the plastic on the foam to keep fragments from getting everywhere and onto the fruit, and I clean it with vinegar or warm, soapy water then wipe it down and dry before using it. Since food will be eaten from here, I treat it like a dish.
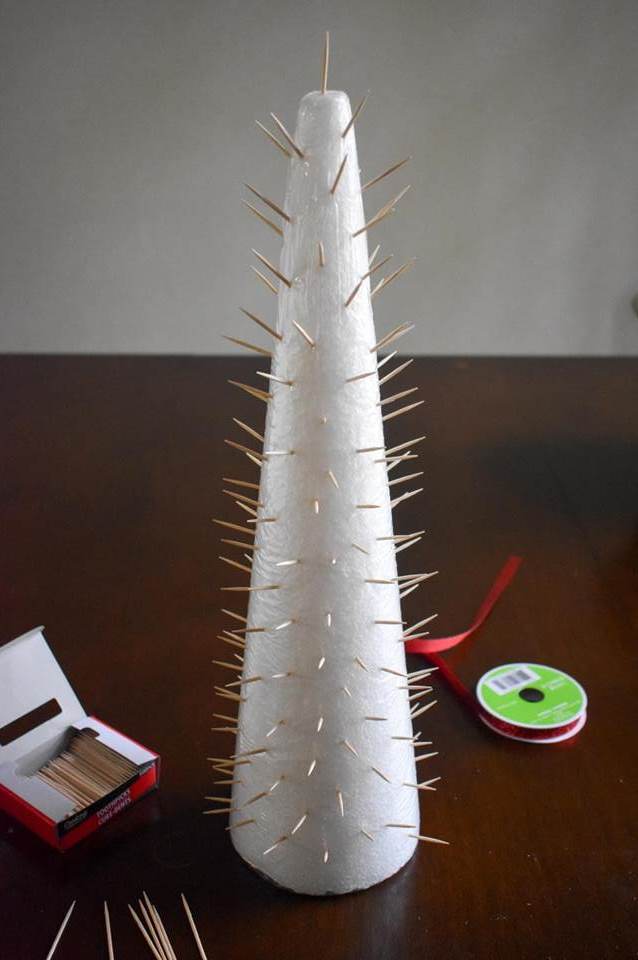
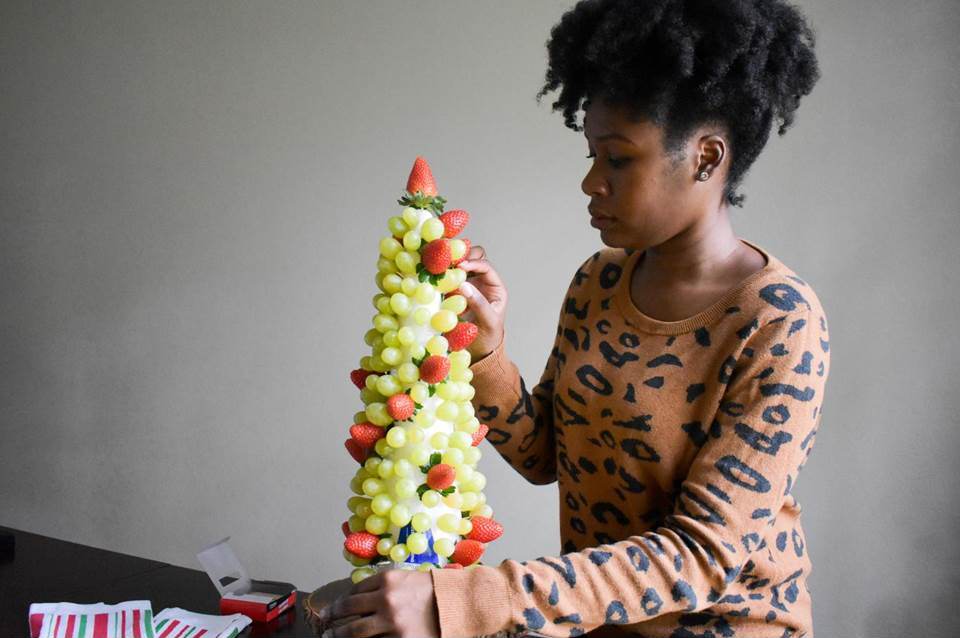
Step Three: Add toothpicks. I use a lot of toothpicks and space them randomly but pretty close together. Use caution with the toothpicks to avoid sticking yourself with one!
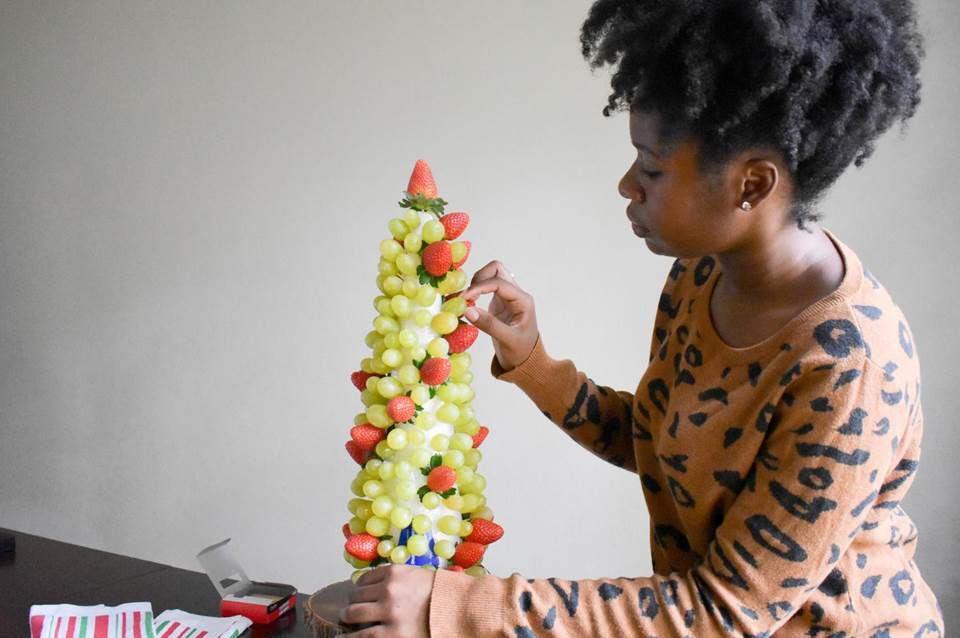
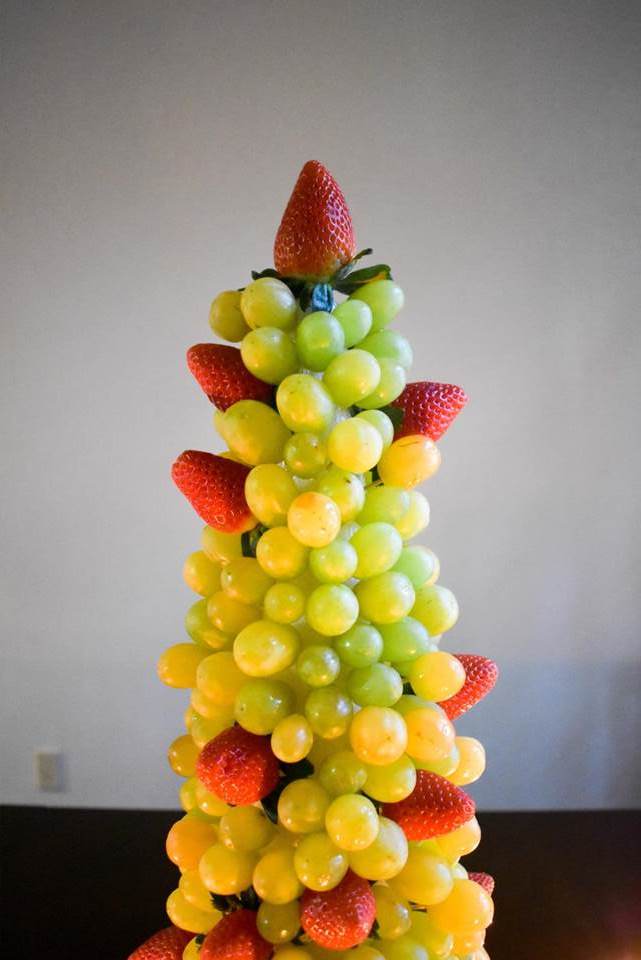
Step Four: Add fruit. Add a piece of fruit to each toothpick in whatever pattern or order you desire. Green grapes and strawberries were a default Christmas color scheme choice here. Continue being careful when adding the fruit to the toothpicks.
Step Five: Fill in. There will likely be "holes" where the base peeks through, so you'll need to add additional toothpicks here and there then fill them with fruit.
Step Six: Decorate! You can add ribbon or other items of your choosing to finish it off.

I hope this festive fruit centerpiece tutorial is helpful. Let me know below if you have made or eaten an edible centerpiece before. Thanks for reading!

P.S. more festive Christmas ideas:


Marcus Avery Christon says
This fruit centerpiece is fun to make and a conversation starter. My friends couldn't stop talking about it during my holiday gathering.
Krysten says
Edible Arrangements has nothing on you (and now, me)! I made this with chocolate fondue for a dinner party I hosted and everyone was obsessed. This was a lot easier to put together than I anticipated too. Definitely going to put another one together again soon, maybe for New Years. Maybe I'll try to do a different shape like a star or something festive. This will be super cute for Valentine's Day too. Thanks for sharing!
Marta says
Okay, this was a total flex on my family and friends. Everyone stared at my festive fruit centerpiece in complete awe! You're step-by-step instructions made it so easy, too!
Heather Garcia says
I am loving this tutorial! I have often wondered how to make these fruit arrangements and you explained in a way that makes it totally doable! Thanks for the info!
reesann723 says
You make this look SO easy! It's so beautiful too! I should try my hand at it!
Jazz says
Thank you so much! It is really easy and I'm sure yours will turn out beautifully if you try it.
Rachel Catherine says
That thing is awesome! I love that it is decoration and something people can snack on, especially since it's healthy.
Blythe Alpern says
Your design makes Edible Arrangements look like amateurs. That is seriously impressive. I can see why you won't want to eat it because it is so pretty.
TheMrsTee says
What a creative idea!! I love that it's edible and beautiful all in one piece. This would make the perfect addition to any holiday table!
lovelysilvia says
OMG this is perfect! I have been trying to decide what to take for holiday parties that is festive and easy. This is perfect!
cldamon says
Wow what a great idea! That's beautiful! It looks intricate but easy enough to do pretty quickly!
taylorannes95 says
Ok I love this! This is the coolest little tree I've ever seen -- and would honestly be a nice break from the sugar high we all experience around the holidays. 🙂 I can't wait to do this.
angie the freckled rose says
Oh my goodness this is the coolest! I love doing eye catching things like this with food for holiday parties and this is perfect. It actually looks pretty simple too. Thanks for the great idea and happy holidays 🙂
Jazz says
Happy Holidays to you too, Angie. Thanks for stopping by!
Corina | Now THAT I Can Do, Mama! says
That is beautiful! I love the spiral design created by the strawberries. Thanks for showing us how easy it is to make!
courteneynoonan says
This is such a good idea! I can't have foods with sugar in but I love fruit so this is a nice alternative to chocolately Christmas snacks haha